When you’re building Gutenberg blocks, sometimes you don’t want to make a new one- you just want to extend a block that exists. Enter block filters. It allows you to
I recently needed to extend the core/code block from Gutenberg and I found it was really slick and very easy to do (once you know how.) In fact, it was very reminiscent to what I wrote about sharing functionality between blocks.
I’m going to cover:
- How to set up a filter
- What to do to actually “hook” into the block you want
- How to edit the block without destroying it!
- How to add additional attributes
How to set up a filter
We need to get some sort of plugin environment set up. I recommend for ease using my guty-blocks 2 build environment. This is where I will be starting, but you can start with anything that enqueues javascript and runs it in the gutenberg editor.
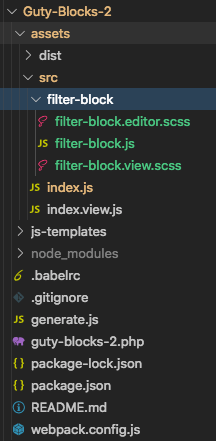
After cloning my guty-blocks-2 over into my plugins folder, running npm install, and activating the plugin, I start by creating a new filter-block. This is what my space looks like:
We’re going to start by completely clearing out the filter-block.js file to be blank. We’re starting from scratch ?.
The main idea is that we’re going to set up a hook that allows us to run a function whenever a block is being registered when the editor starts up. We’ll take a look at the block type, and if it isn’t the one we want we’ll ignore it.
So this is how we hook into that process:
const { addFilter } = wp.hooks;
/**
* When this function gets run by the addfilter
* hook below, the filter passes it the block settings
* or config file.
*/
const filterBlocks = (settings) => {
console.log(settings.name)
// we need to pass along the settings object
// even if we haven't modified them!
return settings;
}
addFilter(
'blocks.registerBlockType', // hook name, very important!
'example/filter-blocks', // your name, very arbitrary!
filterBlocks // function to run
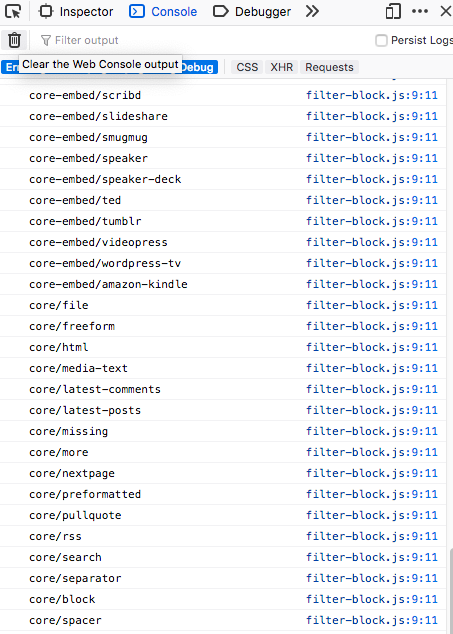
)Now, if you build this block and reload your editor, in your console we will see the name of each block that ever gets registered when the editor loads…
Hooking into the block you want
So the first thing you should think is “Do we really want to deal with every block?” That answer is a hard no. We want to seek out the block that we want to extend. And so we’re going to filter out blocks that aren’t the block we want.
In this example, we’ll extend the paragraph block. I don’t think you’d actually want to extend such a common block, but this is just for demonstration.
Let’s change our block to return the settings right away if the block is not the paragraph. I’m only showing the parts that have changed in filter-block.js.
const filterBlocks = (settings) => {
if (settings.name !== 'core/paragraph') {
// we need to pass along the settings object
// even if we haven't modified them!
return settings
}
// We should only be logging out the paragraph block settings object.
console.log(settings);
return settings;
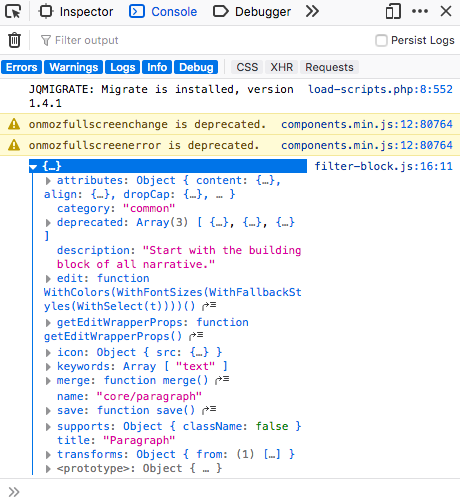
}And now when we deal with settings, we have *only* the settings for the block type we want: the paragraph! You’ll notice we’ll have the familiar name, attributes, edit(), save(), etc…
How to extend the block settings object
The key here is that we want to preserve the settings this block has before. So the very first thing I’m going to do is create a newSettings object and spread the old settings into that object.
const filterBlocks = (settings) => {

    if (settings.name !== 'core/paragraph') {
        return settings
    }

    const newSettings = {
        ...settings, // This copies the old settings.  Now we can edit them!
    }

    return newSettings; // Make sure to return our new settings!
}
This is important! If you don’t spread in (or merge using something like Object.assign), you’ll lose the old settings!
Here’s a demonstration about how you might wrap each paragraph block with custom markup to extend them.
const filterBlocks = (settings) => {
if (settings.name !== 'core/paragraph') {
return settings
}
const newSettings = {
...settings,
edit(props) {
return (
<div
className='my-custom-wrapper'
style={{ background: 'pink' }}
>
{settings.edit(props)} // calling the old edit inside our new one!
</div>
)
},
save(props) {
return (
<div
className='my-custom-wrapper'
style={{ background: 'pink' }}
>
{settings.save(props)} // same with the old save method
</div>
)
}
}
return newSettings; // now with pink backgrounds!
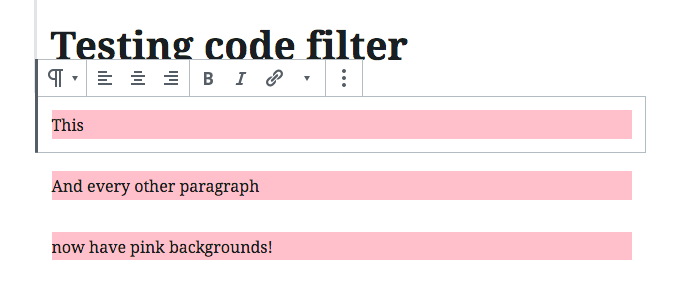
}In our case we’re calling the “old” edit() inside of our new “wrapper edit()“. Same with save(). Make sure you pass your props through! In a lot of ways, we’re create just a wrapper here, and the regular paragraph does its thing inside of our wrapper.
If you test this in your WP editor, sure enough, we have these beautiful pink blocks…
How to add additional attributes
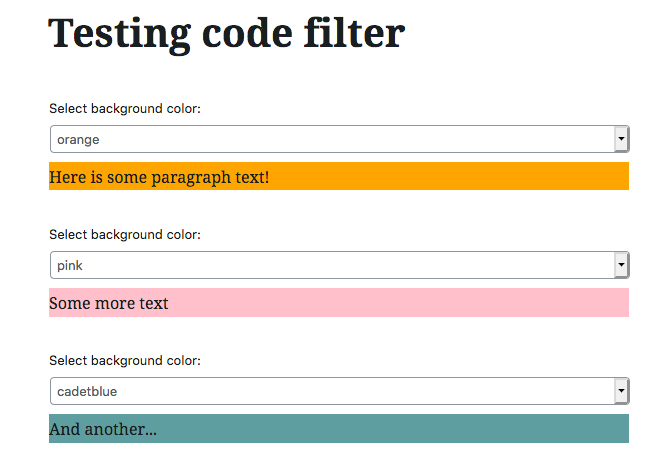
We encounter a similar issue to when we were editing the edit() and save() methods when we want to change the attributes. We don’t want to erase them by overwriting them, we want to extend them! So we spread in attributes and add. For example, we’re going to add the functionality of adding a select box that will allow the user to select the paragraph background color.
(We would probably put this select box in the InspectorControls so it shows up in the sidebar like normal settings, but let’s do this for the simplicity.)
Here is our example block in all its glory:
const { addFilter } = wp.hooks;
const { SelectControl } = wp.components;  // A nice component built for us!

const filterBlocks = (settings) => {

    if (settings.name !== 'core/paragraph') {
        return settings
    }

    const newSettings = {
        ...settings,
        attributes: {
            ...settings.attributes, // spread in old attributes so we don't lose them!
            bgColor: { // here is our new attribute
                type: 'string',
                default: 'pink'
            }
        },
        edit(props) {
            const { bgColor } = props.attributes;

            return (
                <div>
                    <SelectControl
                        value={bgColor}
                        label='Select background color:'
                        onChange={ bgColor => props.setAttributes({ bgColor })}
                        options={[
                            { label: 'pink', value: 'pink'},
                            { label: 'orange', value: 'orange'},
                            { label: 'cadetblue', value: 'cadetblue'},
                        ]}
                    />
                    <div
                        className='my-custom-wrapper'
                        style={{ background: bgColor }}
                    >
                        {settings.edit(props)}
                    </div>
                </div>
            )

        },
        save(props) {
            const { bgColor } = props.attributes;

            return (
                <div
                    className='my-custom-wrapper'
                    style={{ background: bgColor }}
                >
                    {settings.save(props)}
                </div>
            )
        }
    }

    return newSettings;
}

addFilter(
    'blocks.registerBlockType',
    'example/filter-blocks',
    filterBlocks
)
And sure enough, every paragraph comes with a select box that allows us to change the background.
Conclusion
Hopefully this helped you get started in filtering blocks and extending them. If you want to see the project I used this for, here is a code syntax highlighting block that I made for my personal blog (and used for this post!)
This post was in part inspired by Weston Ruter in his post here: https://weston.ruter.net/2018/12/18/creating-gutenberg-blocks-without-a-build-step-via-htm/
Very nice Tutorial. Do you happen to have this example in vanilla JS?
React is vanilla JS!
Thanks for the tutorial but f*** me, having to use NPM to add a filter makes me die inside a bit compared to how easy it used to be!
It’s been a while since the comment so perhaps you’ve already realized this, but filters can be added without NPM or any build steps. Look for the ES5 versions of the examples from the docs:
https://developer.wordpress.org/block-editor/developers/filters/block-filters/#filters
Then for getting the code enqueued for the editor:
https://developer.wordpress.org/block-editor/tutorials/javascript/loading-javascript/
Thanks so much for this tutorial! Even after 2+ years the Gutenberg docs are a bit iffy so this really helped.
Hello Jim,
Thanks for this amazing article! (https://jschof.com/gutenberg-blocks/using-gutenberg-filters-to-extend-blocks/)
I am modifying the gallery block based on these lines but it just doesn’t work. The edit() and save() methods are not throwing an an error. It says ‘cannot call class as a function’. The same code works perfectly for the paragraph block.
What’s going on with this? Any help would be greatly appreciated!
It appears this is an issue with calling edit and save in the template. I’m not 100% certain, but it might be related to this: https://overreacted.io/how-does-react-tell-a-class-from-a-function/
I would suggest maybe checking out https://developer.wordpress.org/block-editor/components/with-filters/ and try using `withFilters`. Unfortunately, I’ve been away from Gutenberg for too long and couldn’t fill you in with a better solution. Best of luck.
Is there a way to remove Panel Options. For example, I would like to remove the Color Settings, Font Settings, etc from core blocks like the Heading, Button, and Image blocks.
When I update edit function of core/paragraph, then I lose inserter button. Do you maybe know, how can I fix it?